Customize flows
Gusto Flows offer customization options that allow you to tailor the appearance of flows to align with your branding. Use the Gusto Developer Portal to configure flows for Demo or Production, and to update UI styles.
If the level of customization with flows doesn’t meet your needs, you might consider using React SDK components—which you can also use alongside flows.
Prerequisites
Before you can customize your flows, make sure that your account on the Gusto Developer Portal is configured as an Embedded Developer account and that you have an Organization.
Updating flow appearance in the Developer Portal
To update embedded flow styling:
- Sign in to the Gusto Developer Portal.
- Navigate to Organizations in the left sidebar and select the desired organization.
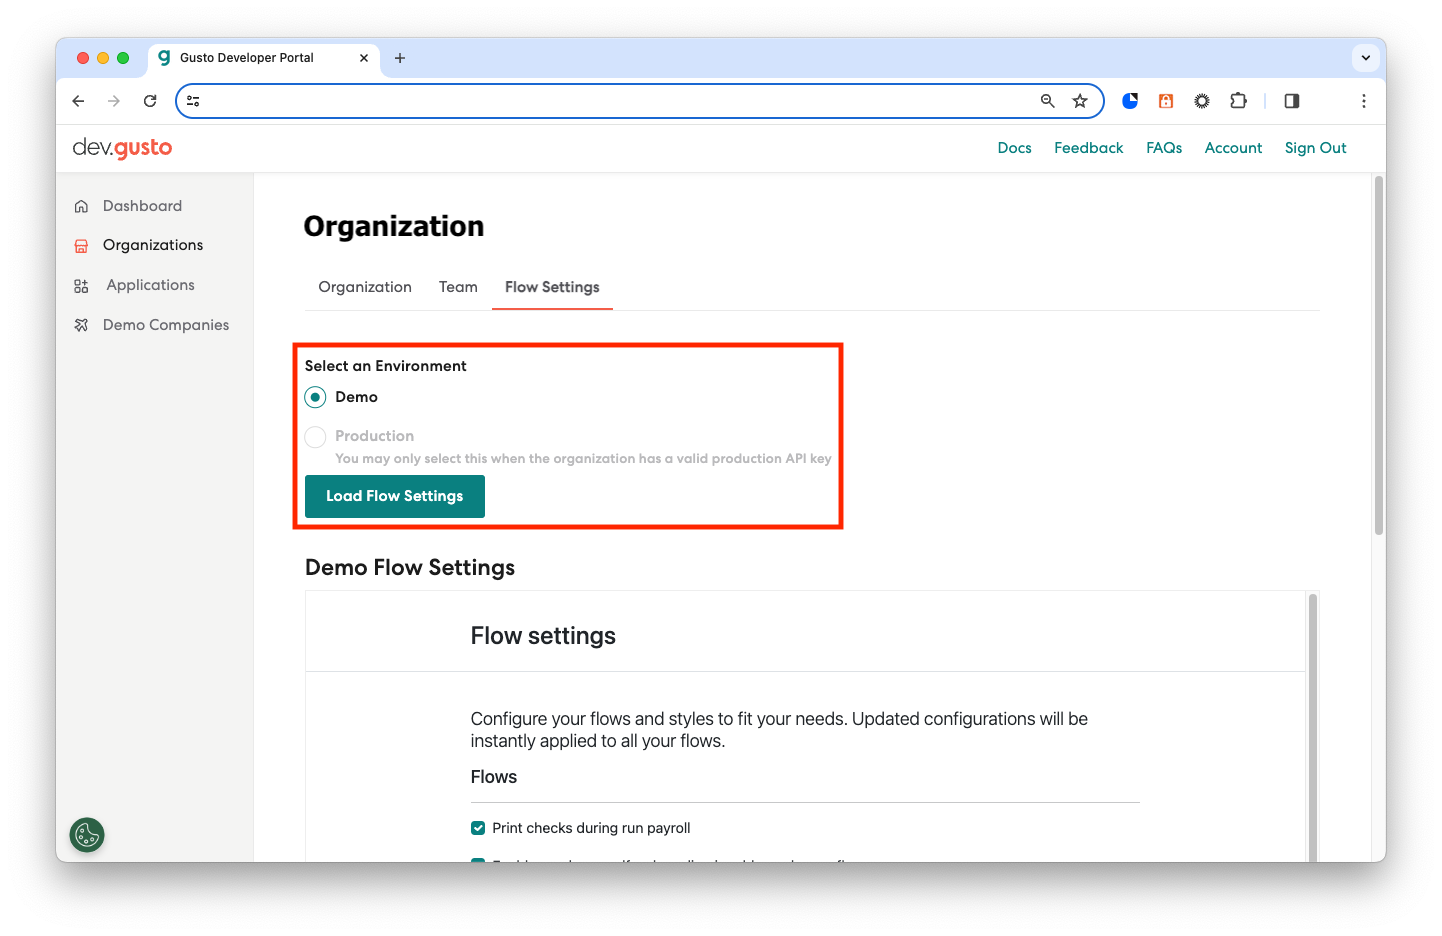
- Click the Flow Settings tab.
- Adjust style settings.
- Click Submit & Save to apply your changes.
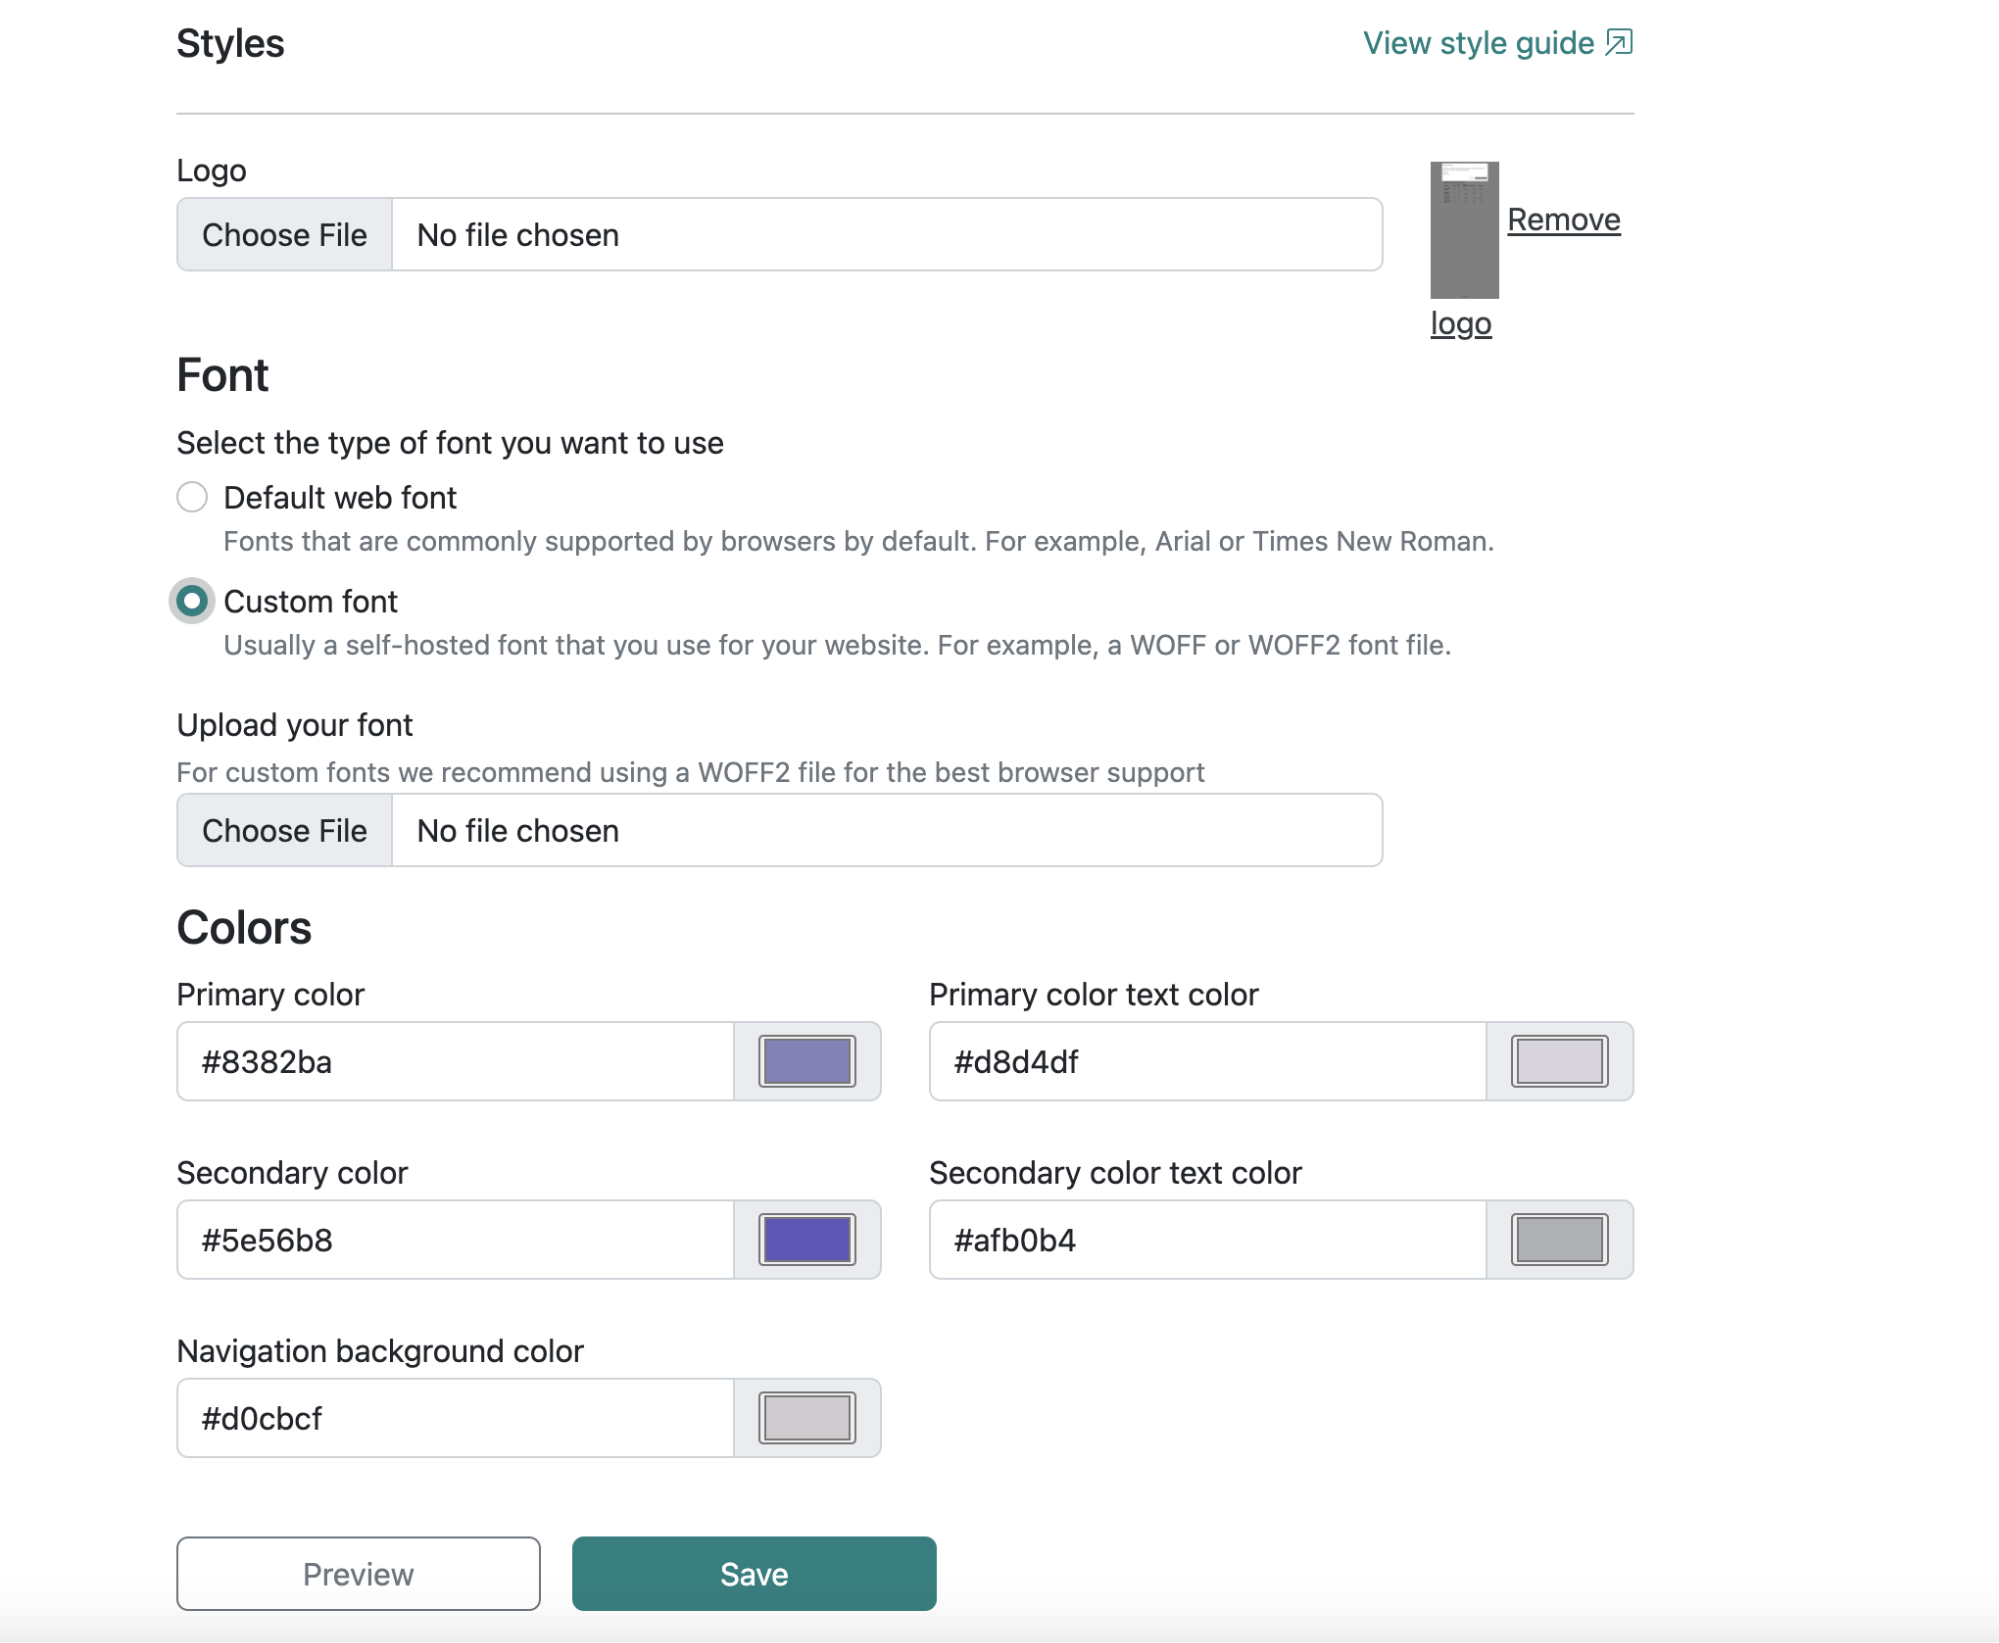
Available customization options
- Color and styling adjustments: Modify flow elements such as buttons, headers, background colors, and text styles
- Font customization: Upload and apply custom fonts (
.ttf,.woff,.woff2formats are supported). - Visibility controls: Enable or disable certain UI components based on user preferences.
Managing settings for Demo and Production environments
Configure styling separately for Demo and Production to safely test changes on Demo before making them live for your users.
| Environment | Description |
|---|---|
| Demo | Use for testing and previewing changes Does not affect real employee or payroll data Supports unrestricted modifications so you can freely experiment |
| Production | Used for live payroll and HR operations Requires an active Production API key Ensure you’ve validated changes in Demo before applying |
To select the environment, sign in to the Developer Portal and go to Organizations > [Your organization] > Flow Settings, as shown here:
FAQ
How can I preview style changes before going live?
Always preview your flow styling, including any font settings, before applying them to Production to ensure they align with your branding and usability goals, and to reduce the risk of UI inconsistencies.
- Sign in to the Developer Portal and go to Organizations > [Your organization] > Flow Settings.
- Make style edits.
- Click View Style Guide to generate a preview.
- Review your modifications, including any updates to fonts, buttons, colors, and layout.
- If satisfied, click Submit & Save.
How do I customize fonts?
-
Sign in to the Developer Portal and go to Organizations > [Your organization] > Flow Settings.
-
Scroll to the Font section.
-
Select an option from the dropdown:
- Select Custom font from the dropdown to upload your font file in
.ttf,.woff, or.woff2format. - Select Default web font and specify the font type to use web fonts commonly supported by browsers by default.
- Select Custom font from the dropdown to upload your font file in
-
Click Save to confirm.
Important considerationsSaving a custom font will apply the font across all of the flows in your organization, as fonts cannot be applied on a per-flow basis.
If you remove a custom font, flows will automatically revert to the default web font.
Next steps
If you haven't already, check out the Quickstart for Gusto Flows. Otherwise, read about flow types and flow events to learn about the types of flows available and how to interact with them.
Updated 2 months ago