Getting started
An expanded version of our Quickstart, follow this guide to set up an application, company, company location, and add an employee.
All endpoints are available via Postman. Check out our Postman guide to fork the latest collection and get recommendations on how to quickly get started.
1. Set up your application
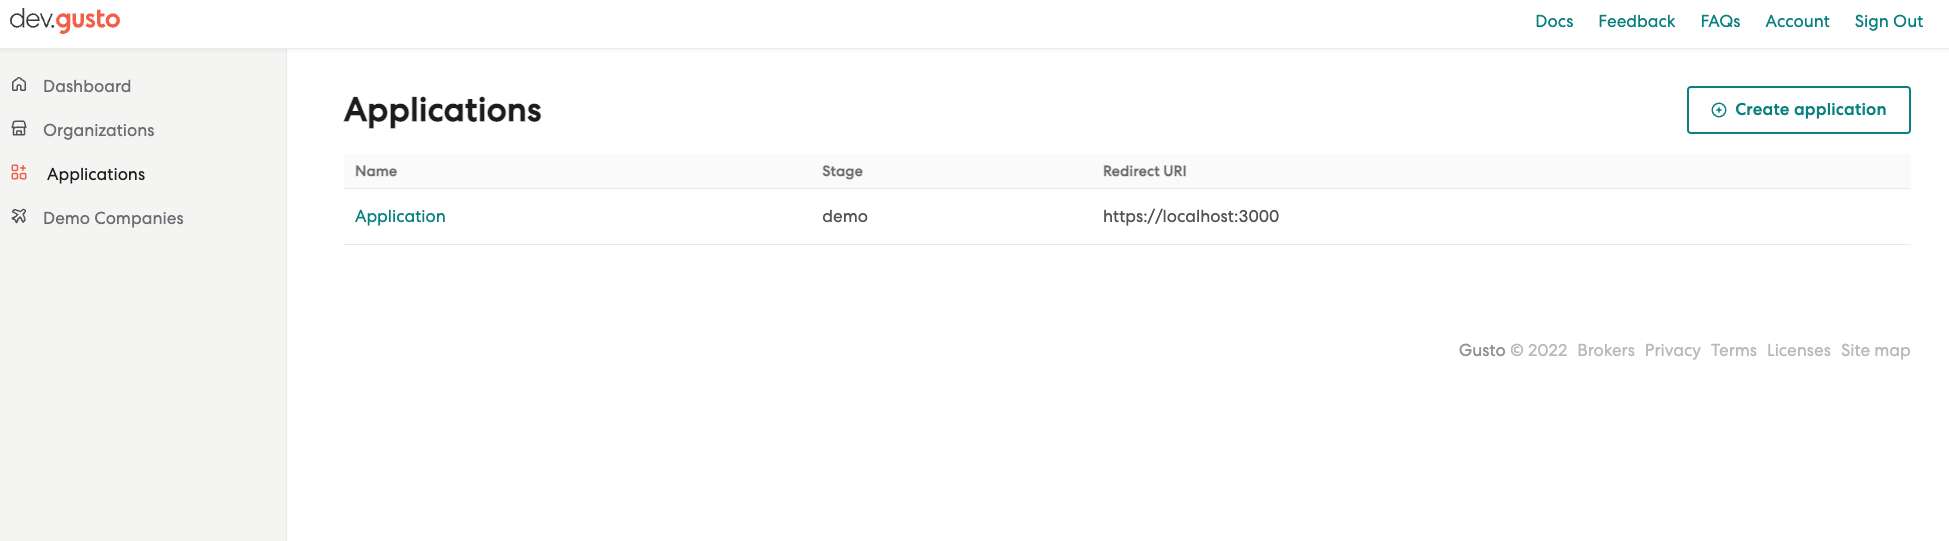
a. Create an application in the Developer Portal
To begin development, go to Gusto's Developer Portal. Follow the steps to create an account, set up an Organization, and create an Application. This will create the credentials necessary to access our Demo environment (https://api.gusto-demo.com). The application will generate a unique client_id and secret to be used for authentication via OAuth2. Note that newly created Applications will be set to the latest stable API version.
b. Get your credentials
You will need to create a system access token to make your first API call. Using your application's unique client_id and secret, use the POST /oauth/token API with "grant_type": "system_access" to generate your system token.
2. Create a partner managed company
Embedded payroll begins with the creation of a company that you can manage. Your first API call will be to the partner managed company endpoint to:
- Create a new company in Gusto
- Create a new user in Gusto
- Make the new user the primary payroll administrator of the new company
- Generate company access tokens for use in subsequent API calls

If the company you are onboarding already uses Gusto. Please follow the Existing Company Migration guide.
a. Create a company
You can create a company using the POST partner_managed_companies endpoint. Ensure you are using the system access token from the previous step for authorization.
curl --request POST \
     --url https://api.gusto-demo.com/v1/partner_managed_companies \
     --header 'accept: application/json' \
     --header 'content-type: application/json'\
     --header 'Authorization: Bearer {SYSTEM_ACCESS_TOKEN}'\
      --data '{
   "user":{
      "last_name":"Mushnik",
      "first_name":"Mister",
      "email":"[email protected]"
   },
   "company":{
      "name":"Mushnik`s Flower Shop",
      "ein":910532465
   }
}'
const fetch = require('node-fetch');
const url = 'https://api.gusto-demo.com/v1/partner_managed_companies';
const options = {
method: 'POST',
headers: {
accept: 'application/json',
'content-type': 'application/json',
authorization: 'Bearer <<API_TOKEN>>'
}
},
body: JSON.stringify({
user: {
first_name: 'Mister',
last_name: 'Mushnik',
email: '[email protected]'
},
company: {
name: "Mushnik\'s Flower Shop",
ein: "910532465"
}
})
};
fetch(url, options)
.then(res => res.json())
.then(json => console.log(json))
.catch(err => console.error('error:' + err));b. Save your Company Access Token details
The POST partner_managed_companies endpoint will return a company_uuid, access_token and refresh_token in the response. These are the Company Access Tokens for your new company. You will need them to make subsequent API calls on behalf of this company.
{
  "company_uuid":"ce80a710-eed2-4623-b879-16181abef0ec",
  "access_token":"wp6liuyNNZ6wmZSqhWa4InJyUrmAeMLzsjr2zrxllNg",
  "refresh_token":"B_dx3poVl3kEHrOguSt_EmA-XU9duHBRRWA8BwXXD7s"
}

Access Tokens
All steps going forward use the company specific access tokens. Access Tokens expire after 2 hours. You can read about refresh tokens in our Authentication guides.
3. Accept Terms of Service
Each company added must accept the Terms of Service. This first user opting into Embedded Payroll should be prompted to view and accept the Terms of Service before proceeding to the next steps. If a user navigates away from the Terms of Service they should be re-prompted to accept the Terms of Service if they haven’t already.
curl --request POST \
     --url https://api.gusto-demo.com/v1/partner_managed_companies/{company_uuid}/terms_of_service \
     --header 'accept: application/json' \
     --header 'authorization: Bearer {COMPANY_ACCESS_TOKEN}' \
     --header 'content-type: application/json' \
     --data '
{
     "email": "[email protected]",
     "external_user_id": "2005648946132",
     "ip_address": "192.168.1.2"
}
'
const fetch = require('node-fetch');
const url = 'https://api.gusto-demo.com/v1/partner_managed_companies/{company_uuid}/terms_of_service';
const options = {
method: 'POST',
headers: {
accept: 'application/json',
'content-type': 'application/json',
authorization: 'Bearer <<COMPANY_ACCESS_TOKEN>>'
},
body: JSON.stringify({
email: '[email protected]',
external_user_id: '2005648946132',
ip_address: '192.168.1.2'
})
};
fetch(url, options)
.then(res => res.json())
.then(json => console.log(json))
.catch(err => console.error('error:' + err));4. Create a Company Location
a. Create Company Location
Company locations represent all addresses associated with a company. These can be filing addresses, mailing addresses, and/or work locations; one address may serve multiple, or all, purposes.
curl --request POST \
     --url https://api.gusto-demo.com/v1/companies/{company_uuid}/locations \
     --header 'accept: application/json' \
     --header 'authorization: Bearer {COMPANY_ACCESS_TOKEN}' \
     --header 'content-type: application/json' \
     --data '
{
     "phone_number": "8009360383",
     "street_1": "425 2nd Street",
     "street_2": "Suite 602",
     "city": "San Francisco",
     "state": "CA",
     "zip": "94107",
     "country": "USA"
}
'
const fetch = require('node-fetch');
const url = 'https://api.gusto-demo.com/v1/companies/{company_uuid}/locations';
const options = {
method: 'POST',
headers: {
accept: 'application/json',
'content-type': 'application/json',
authorization: 'Bearer <<COMPANY_ACCESS_TOKEN>>'
},
body: JSON.stringify({
phone_number: '8009360383',
street_1: '425 2nd Street',
street_2: 'Suite 602',
city: 'San Francisco',
state: 'CA',
zip: '94107',
country: 'USA'
})
};
fetch(url, options)
.then(res => res.json())
.then(json => console.log(json))
.catch(err => console.error('error:' + err));5. Create an employee
Employees are a critical part of payroll. Companies are a collection of one to hundreds of employees that must be paid on a regular cadence. There are two different ways to create and onboard an employee: By Employer or By Employees ("self-onboarding").
For a more comprehensive overview of Employee Onboarding, you can read the Employee Onboarding Guide.
a. Create an employee
You can create an employee using the POST companies/{company_id}/employees endpoint.
The example below shows an employee "self-onboarding".
curl --request POST \
     --url https://api.gusto-demo.com/v1/companies/{company_uuid}/employees \
     --header 'accept: application/json' \
     --header 'authorization: Bearer {COMPANY_ACCESS_TOKEN}' \
     --header 'content-type: application/json' \
     --data '
{
     "first_name": "Alexander",
     "middle_initial": "A",
     "last_name": "Hamilton",
     "date_of_birth": "1979-06-01",
     "email": "[email protected]",
     "ssn": "123451776",
     "self_onboarding": true
}
'
const fetch = require('node-fetch');
const url = 'https://api.gusto-demo.com/v1/companies/{company_uuid}/employees';
const options = {
method: 'POST',
headers: {
accept: 'application/json',
'content-type': 'application/json',
authorization: 'Bearer <<COMPANY_ACESS_TOKEN>>'
},
body: JSON.stringify({
first_name: 'Alexander',
middle_initial: 'A',
last_name: 'Hamilton',
date_of_birth: '1979-06-01',
email: '[email protected]',
ssn: '123451776',
self_onboarding: true
})
};
fetch(url, options)
.then(res => res.json())
.then(json => console.log(json))
.catch(err => console.error('error:' + err));b. Save employee uuid, version, and the home_address version.
uuid, version, and the home_address version.{
"uuid": "714c9ecb-0d0f-4172-8154-382363df28af",
.
.
.
"version": "73a6740193caae624bdafbf257da4656",
.
.
.
"home_address": {
"version": "68934a3e9455fa72420237eb05902327",
.
.
.
},
}