Composition
The Gusto Embedded React SDK allows for flexible approaches when crafting experiences. You can use workflow components as needed to render complex user flows with a single component. You can also leverage the individual workflow steps in isolation, recompose them together in your desired order, and update them with your own content.
Building with workflow components
Workflows are individual components that encapsulate complex, often multi step user interactions. Check out the Workflows Overview section to see the full list of available components.
Using a workflow has appeal because you can render an entire user flow with a single component. For example, we can render the entire employee onboarding flow which is comprised of tax forms, user details, and payment information by using a single component as follows:
import { EmployeeOnboardingFlow } from '@gusto/embedded-react-sdk';

function MyApp({ companyId }) {
  return(
    <GustoProvider
      config={{
        baseUrl: `/myapp/`,
      }}
    >
      <EmployeeOnboardingFlow companyId={companyId} onEvent={() => {...}} />
    </GustoProvider>
  );
}
The benefits of this approach are simplicity and ease of development. Many times, however, we need more customization than is possible when using workflow components directly. For those scenarios, the React SDK offers methods of composition where you can leverage pieces of the flow individually and put them together as needed.
Using individual workflow pieces
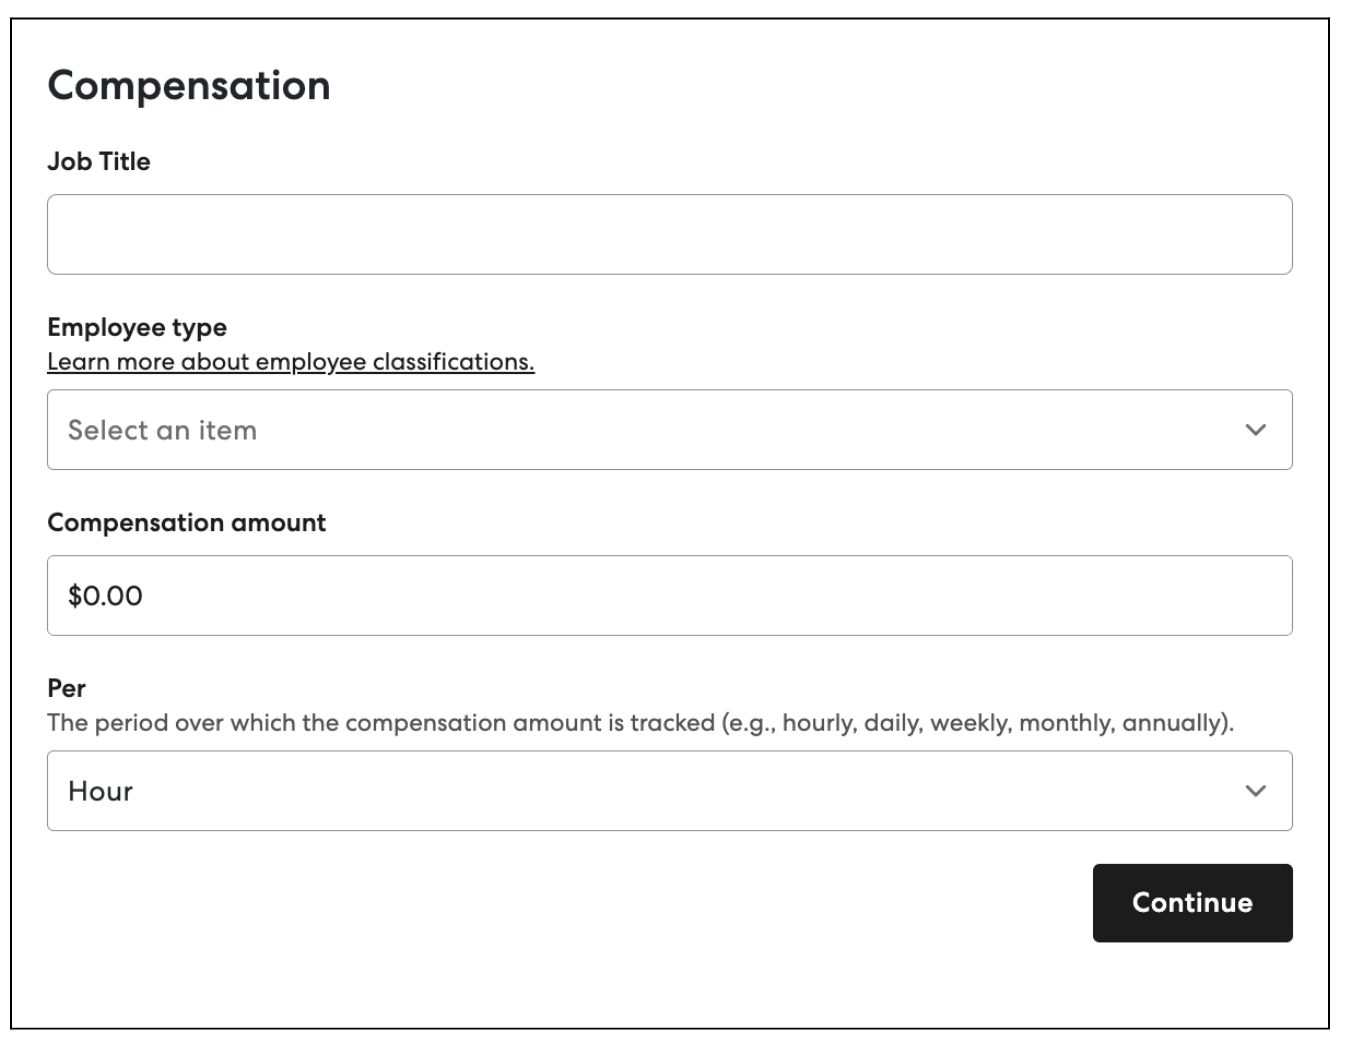
Continuing with the previous example, say we wanted to render employee compensation UI (which is a step in the employee onboarding flow) in isolation. We could import that directly as follows:
import { Employee } from '@gusto/embedded-react-sdk';

function MyApp({ employeeId, startDate }) {
  return(
    <GustoProvider
      config={{
        baseUrl: `/myapp/`,
      }}
    >
      <Employee.Compensation
        employeeId={employeeId}
        startDate={startDate}
        onEvent={() => {...}}
      />
    </GustoProvider>
  );
}
Each step of the employee onboarding flow can be imported like this in isolation and used directly as needed. (For a comprehensive list of employee onboarding components available see the Employee Onboarding documentation here).
Because each step is available for direct use in isolation, it is also possible to rearrange steps, compose them with your own content, or integrate them with your routing infrastructure as outlined here. For example, we could place this compensation form inside of an existing page inline with our own components, or we could use this as a step in a different flow entirely.
Updated 3 months ago