OAuth2
Overview
When migrating existing Gusto customers to your Embedded Payroll product, authentication is done using OAuth2. Numerous libraries implementing the protocol can be found on the OAuth2 homepage.
Should you choose to implement your own flow, or if you just want to know more about what goes on behind the scenes, we'll walk through the basics of authenticating with Gusto via OAuth. It can be a bit tricky - even with a library - so if you have questions at any point, please reach out to your dedicated team at Gusto.
The instructions below reference Gusto's production environment api.gusto.com. Please note that when developing an integration, all API calls should be made to Gusto's demo environment api.gusto-demo.com.
Getting Started
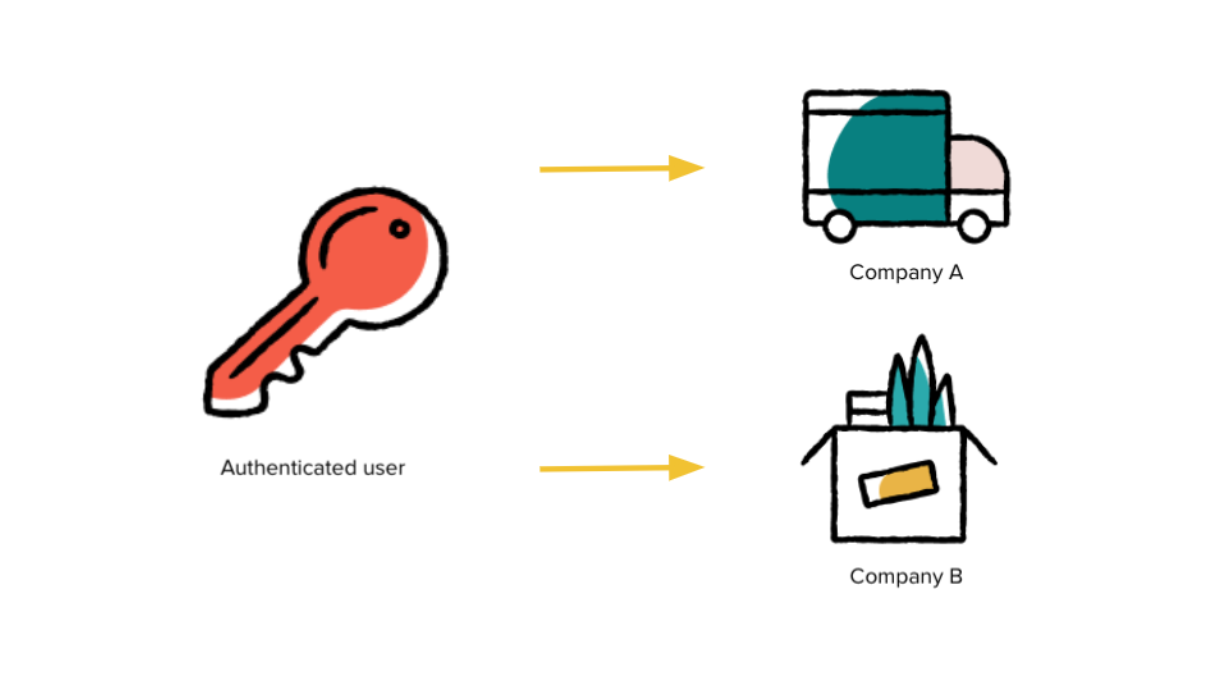
Only primary admins or full access admins on the Gusto account can enable and authenticate a new application’s access (the “user” in the outline below). A user may also be an administrator for multiple companies. This is not uncommon and your application should prepare for it. Accountants use Gusto to manage payroll for many companies simultaneously and many customers can be associated with multiple companies.

If a users administrates more than one company, they will need to select a company during the authorization step.
Outline
- Direct user to the authorize URL
- User logs into their Gusto account
- User authorizes application to access their data.
- User is redirected to partner site with authorization code
- Exchange authorization code for access/refresh token pair
- Associate access/refresh token to user and company
- Make requests, always including the access token parameter
- Exchange refresh token for new access/refresh tokens
Here is the sample application information we'll use throughout:
  id:           bbb286ff1a4fe6b84742b0d49b8d0d65bd0208d27d3d50333591df71c45da519
  secret:       cb06cb755b868a819ead51671f0f7e9c35c7c4cbbae0e38bef167e0e4ba64ee6
  redirect_uri: https://example.com/callback
The redirect_uri is sometimes referred to as a callback URI, aclient_id, or id. The id and secret will be generated when create an application in your Developer Account. OAuth2 does not support wildcard URIs or URIs with fragments (e.g #).
Authorization Code
Expiration Time: 10 minutes
HTTP Method: GET
URL: https://api.gusto.com/oauth/authorize
Parameters:
client_idyour client id. This is generated for you once you create an app in the Gusto dev portal.redirect_urithe url you submitted when creating an application in the Gusto dev portal. Should the user accept integration, the user will be returned to this url with the code parameter set to the authorization code.response_typethe literal stringcode.statea random URL safe string generated by your system used to prevent CSRF attacks
Instructions
The first step is a user authorizing your application to access their information on Gusto. To do this, you'll create a link to Gusto where they can approve access.
The link contains the parameters outlined above. For this sample application, the link would look something like this:
<a href="https://api.gusto.com/oauth/authorize?client_id=bbb286ff1a4fe6b84742b0d49b8d0d65bd0208d27d3d50333591df71c45da519&redirect_uri=https%3A%2F%2Fexample.com%2Fcallback&response_type=code&state=abc123">Authorize with Gusto</a>
On Gusto, the user will be prompted to log in to their Gusto account and authorize integration with your application for one company.
After accepting, Gusto will generate an authorization code and the user will be redirected to the redirect_uri with that code and your state parameter attached. In this case, the user will be sent to a url like this:
https://example.com/callback?code=51d5d63ae28783aecd59e7834be2c637a9ee260f241b191565aa10fe380471db&state=abc123
After confirming the stateparameter matches the value provided in the initial request, the authorization code can then be used to obtain your first access token.
Access Token
Expiration Time: 2 hours
HTTP Method: POST
URL: https://api.gusto.com/oauth/token
Parameters:
client_idyour client id. This is generated for you once you create an app in the Gusto dev portal.client_secretyour client secret. This is generated for you once you create an app in the Gusto dev portal.redirect_urithe url you submitted when creating an application in the Gusto dev portal.codethe code being exchanged for an access token. This should be the Authorization Code received above (51d5d63ae28783aecd59e7834be2c637a9ee260f241b191565aa10fe380471db).grant_typethis should be the literal string "authorization_code"
Next, you will make a server-side request to Gusto with your authorization code to <https://api.gusto.com/oauth/token> with the parameters outlined above. These parameters should be POST data in the body of the request, rather than its query parameters. In this case, the body of the request to <https://api.gusto.com/oauth/token> would look like this with a Content-Type of application/json:
{
  "client_id": "bbb286ff1a4fe6b84742b0d49b8d0d65bd0208d27d3d50333591df71c45da519",
  "client_secret": "cb06cb755b868a819ead51671f0f7e9c35c7c4cbbae0e38bef167e0e4ba64ee6",
  "redirect_uri": "https://example.com/callback",
  "code": "51d5d63ae28783aecd59e7834be2c637a9ee260f241b191565aa10fe380471db",
  "grant_type": "authorization_code"
}
That's a lot of information.
The client_id, client_secret, and redirect_uri are used to identify your application. We ensure that not only is it a valid application requesting a token, but also that it is the same application to which the included code was granted. The code matches the application to the user and the grant_type tells us what type of code is included.
Upon successful authentication, the response will look like this:
{
  "access_token": "KiTnwIKoPVhVhD-FIdQyEgokgcg2VlIU8YiFQ2x5BdM",
  "token_type": "bearer",
  "expires_in": 7200,
  "refresh_token": "l4ornBKjVTPAU5HUAAfPuug__GYRETGgWBIzxjP2eOI"
}
The access_token should be included in the Authorization HTTP header with every call to the API. Failure to include the access_token or using an expired token will result in a 401 response. For example, to use the above token in a subsequent request, include the following in the request's HTTP headers:
Authorization: Bearer KiTnwIKoPVhVhD-FIdQyEgokgcg2VlIU8YiFQ2x5BdM
The access/refresh token are associated with one company. To know the company the user selected in the authorize step, use the Get the current userendpoint. Be sure to include the Authorization Bearer header.
See Authenticationfor instructions on refreshing tokens and persisting Gusto tokens in your local data store.
Updated over 1 year ago